Blog
How to Make a Phone Stand With Charger
 I’ve been using a little stand for my phone to rest on while I sit at my desk. It’s a handy way to keep it out of my pocket while I’m sitting down, and in a readable hands-free position. Unfortunately, when I got a new phone, and added the case, my phone didn’t fit anymore. Womp, womp, womp …
Realizing that my new case would mean I would have to custom build (or modify something), I decided to build my own. While I as at it, I wanted to make an improvement that would allow me to charge the phone while it was standing at attention. This took me 5 itterations. I’ll walk you through the process.
Materials
- Tinkercad login
- Micrometer (ideally, for a snug fit)
- 3D printer and filament
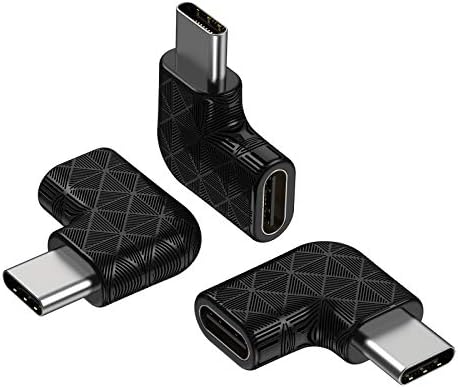
- USB Female to male flat elbow adapter
- USB C Cable
Design first pass model
If model doesn’t show up above, go here to interact with it.
Make base and slot for device

- Make a basic platform rectangle
- Make block with same width as the device you want to hold.
- Rotate block angle that you want to be viewing, I went with -32˚ (counterclockwise)
- Change block attribute from “Solid” to “Hole”
- Select block and base. Select Group icon (or Ctrl-G)

Add slope
 I wanted to customize mine a little, and remove unnecessary material to print, so I added a slope.
- Drop a triangular block (roof or wedge) and position it so that you get a slope. You can create it to be larger than the platform, since it will be removing anything it covers.
- Make triangular object a “Hole”.
- Position so that the negative space will create the slope that you want.
- Select both items and group them. (Group icon or Ctrl-G)

- At this point, export the file from Tinkercad as an .stl file.
- Then import into a slicer program like Prusa slicer
- Slice, and print!
- Granted printing isn’t always that easy, but you get the idea.

Evaluate design
Once I printed the piece, I put my phone in it and used it for a few days. It was a good angle, and it was very stable. Very nice. If you’d like one for yourself, feel free to copy this Tinkercad file and print one for yourself. You could also modify it or see how I made it by selecting objects and ungrouping them.
Unfortunately, one of the things I never liked about the previous holder that I had, was that I couldn’t charge it while I was using it in the holder. This was a success, but I could do better.
Iterate and improve
I decided to modify the design to put a USB cord through it. I wanted the cord to come in through the side though, while the charging port would need to come up from the bottom.
I wanted to use a USB-C male to female adapter, making it fit underneath, and then have a spot for the cable to come through.
The base would have to be bigger, but it would be hard to measure how much room at a diagnal I would need. So I measured the adapter, and made an “L” shaped set of boxes that had similar dimensions. I then inserted this below the “hole” box that was placed to represent the phone and centered it.
Time to print.
…
Opps. That didn’t work.
This is not so great
The hole covering printed, but it was so thin that I could rip it off with my fingers.

And this is really not great.
The bottom of the hole was way too close to the base.

This was better, but the adapter wouldn’t slide in
 You can see where I had to dig out the hole more with an xacto knife.

Next variation needs to save filament
I needed to start conserving filament because I was running out of that color. That’s called foreshadowing.

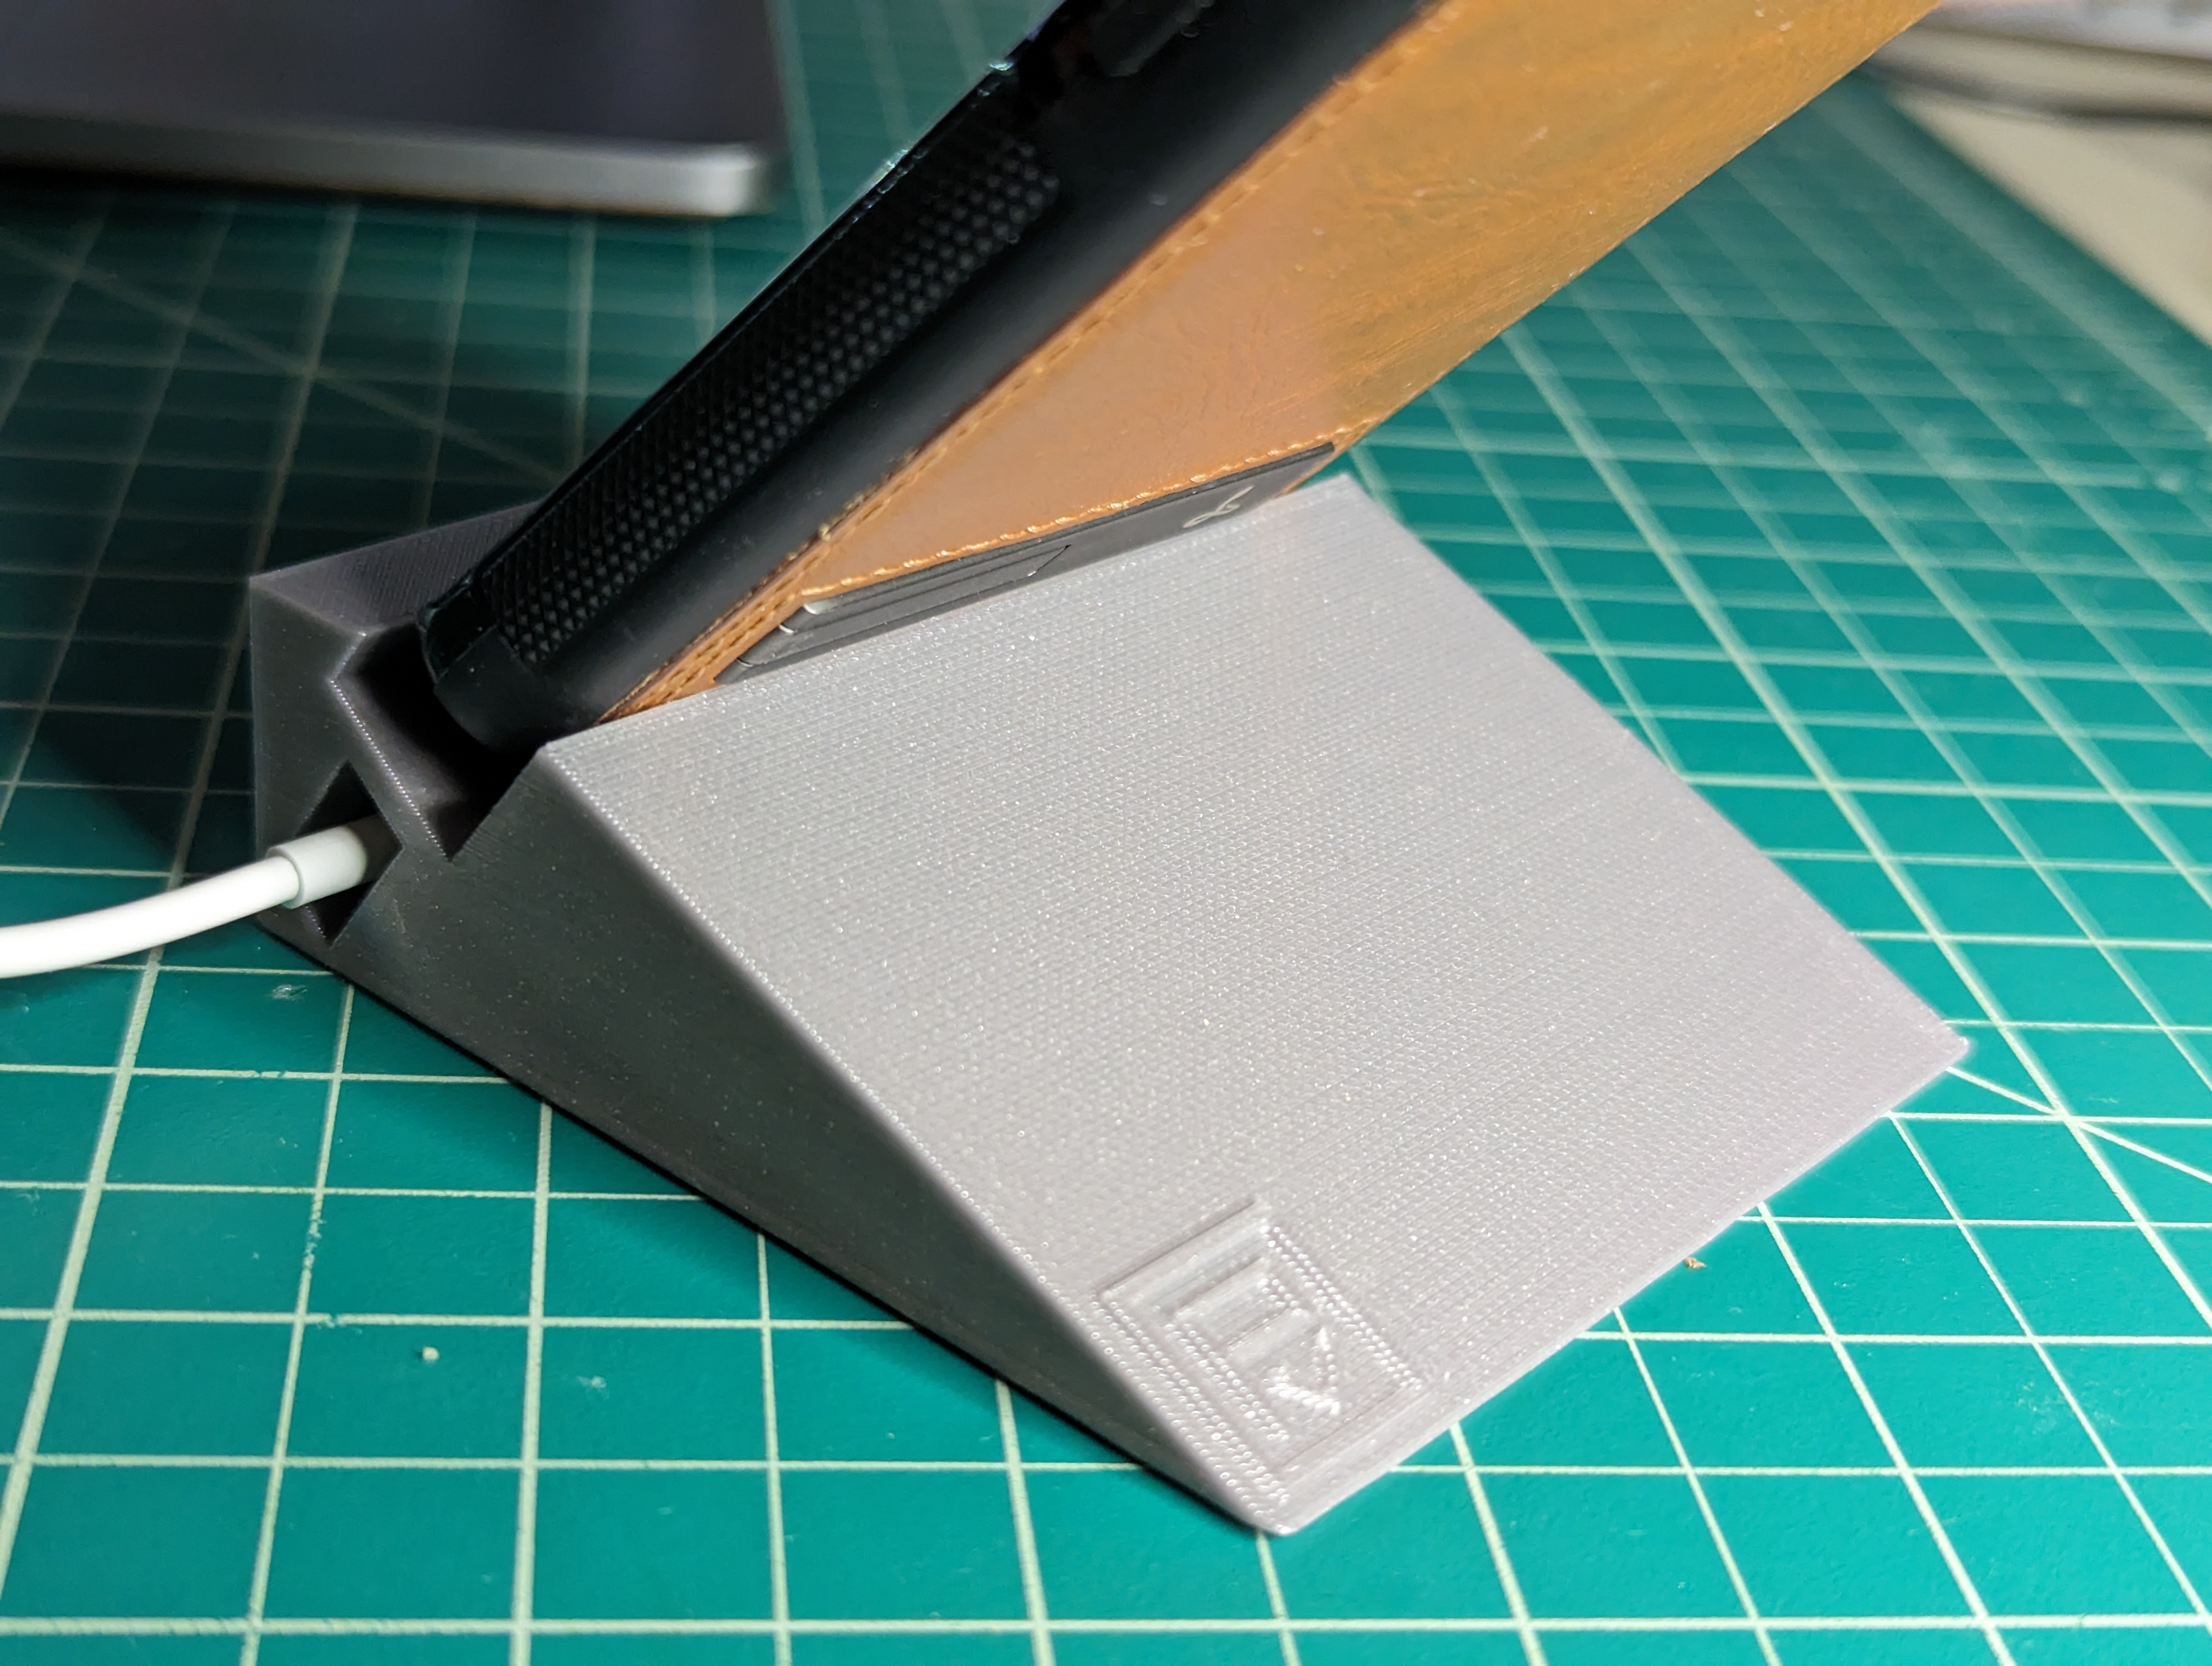
Final product
Okay, not foreshadowing really because it happened next. New color! Tighter print!
 Hey there. I really like your smooth base. I warmed up the printing pad a bit to make sure the filament would melt and give me a smooth bottom. Yep, I just said that. Don’t worry, this is still a family show folks.

Assembly instructions

Insert adapter into hole at an angle.

Slide down. It should fit snugly.

Insert USB cable

Once it touches, wiggle slightly to find the female adapter end.

Test with phone! Done!
Make sure everything is connected. This is a Pixel 2 without a case, so it doesn’t fit. I’m taking the picture of my actual case.
And that’s how you make a phone stand charger.
This is so much fun for me. I love itterating. I love measuring out stuff and having it magically print out at in the right dimensions. I love easily going from idea to design. This is a really simple project, but it’s also really fun to make something that you can use every day.
Thanks for reading. I hope this has inspired you to try and make something for yourself. Be sure and drop me a line to let me know what you liked.
Prints available
- Print that fits a Pixel 7 Pro with Snakehive Case $10
- Custom prints to fit your phone and case +$10 (with or without logo)
- Custom prints with your logo/phrase +$10
- Let me know what you would like.