Blog
How to Fix a Prusa LCD Display

Difficulty Rating: Easy Peasy
 The LCD display on my Prusa i3 MK3S had given out. Seemingly overnight, the middle two rows in the display had become hard to read, with a bright blob in the place of text. If I changed my viewing angle, I could see enough text to get a print done, but it was annoying. Also, frankly, I always hated the blue color to the original display. Sounds like a good excuse to finally switch it out.
One of the reasons that I bought this printer (and opted to assemble myself) was so that I could easily replace the parts if anything went wrong. This was the test. It’s been nearly 3 years since I bought this, lets see how the world of upgrades had treated me.
The LCD display on my Prusa i3 MK3S had given out. Seemingly overnight, the middle two rows in the display had become hard to read, with a bright blob in the place of text. If I changed my viewing angle, I could see enough text to get a print done, but it was annoying. Also, frankly, I always hated the blue color to the original display. Sounds like a good excuse to finally switch it out.
One of the reasons that I bought this printer (and opted to assemble myself) was so that I could easily replace the parts if anything went wrong. This was the test. It’s been nearly 3 years since I bought this, lets see how the world of upgrades had treated me.
I was able to easily find a replacement part at Printed Solid (which has now been acquired by Prusa). The new part includes the entire controller with the LCD part already soldered onto it, so there’s really no point in saving $2 to solder it myself. It also fits the MK2, MK2.5 and MK3 variations of the Prusa, so this should work for all.
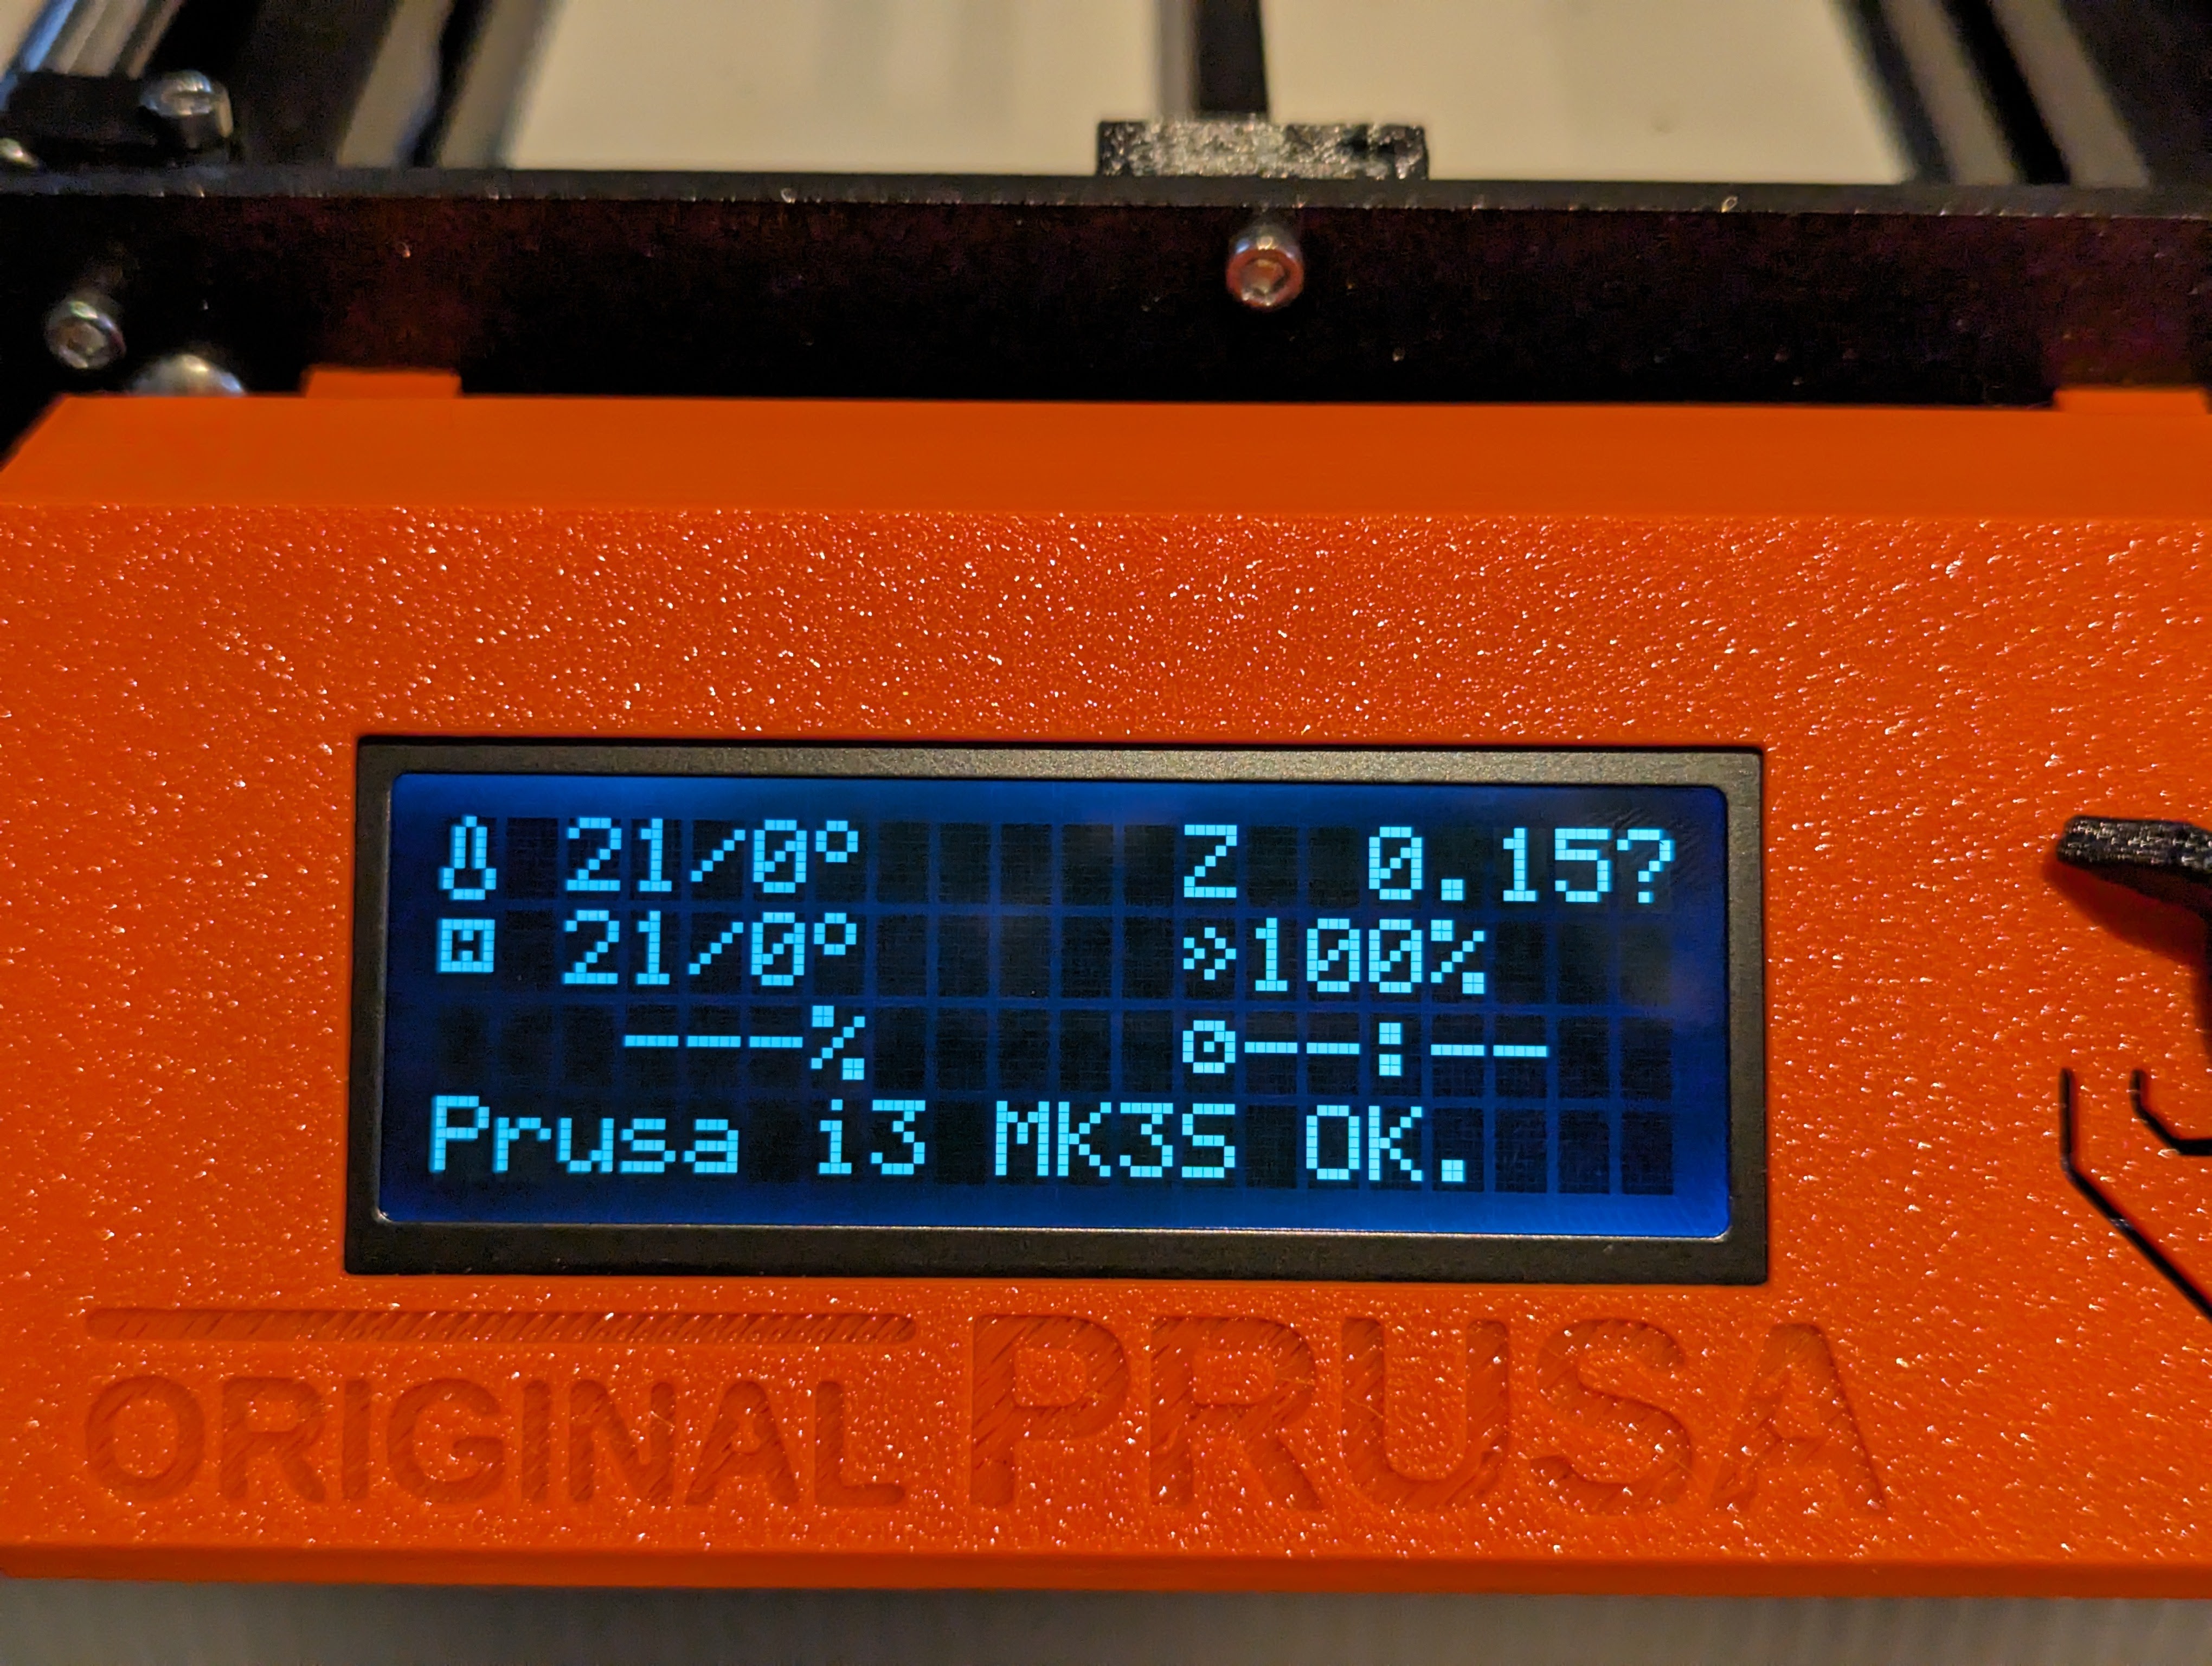
And most importantly, it comes in Black and White !! (almost). The color has a slight bluish tint to it, but noticeably less blue than the previous display with a much darker “off” color.
Step 1 - Setup and tools
 Purchase hex wrench from Amazon
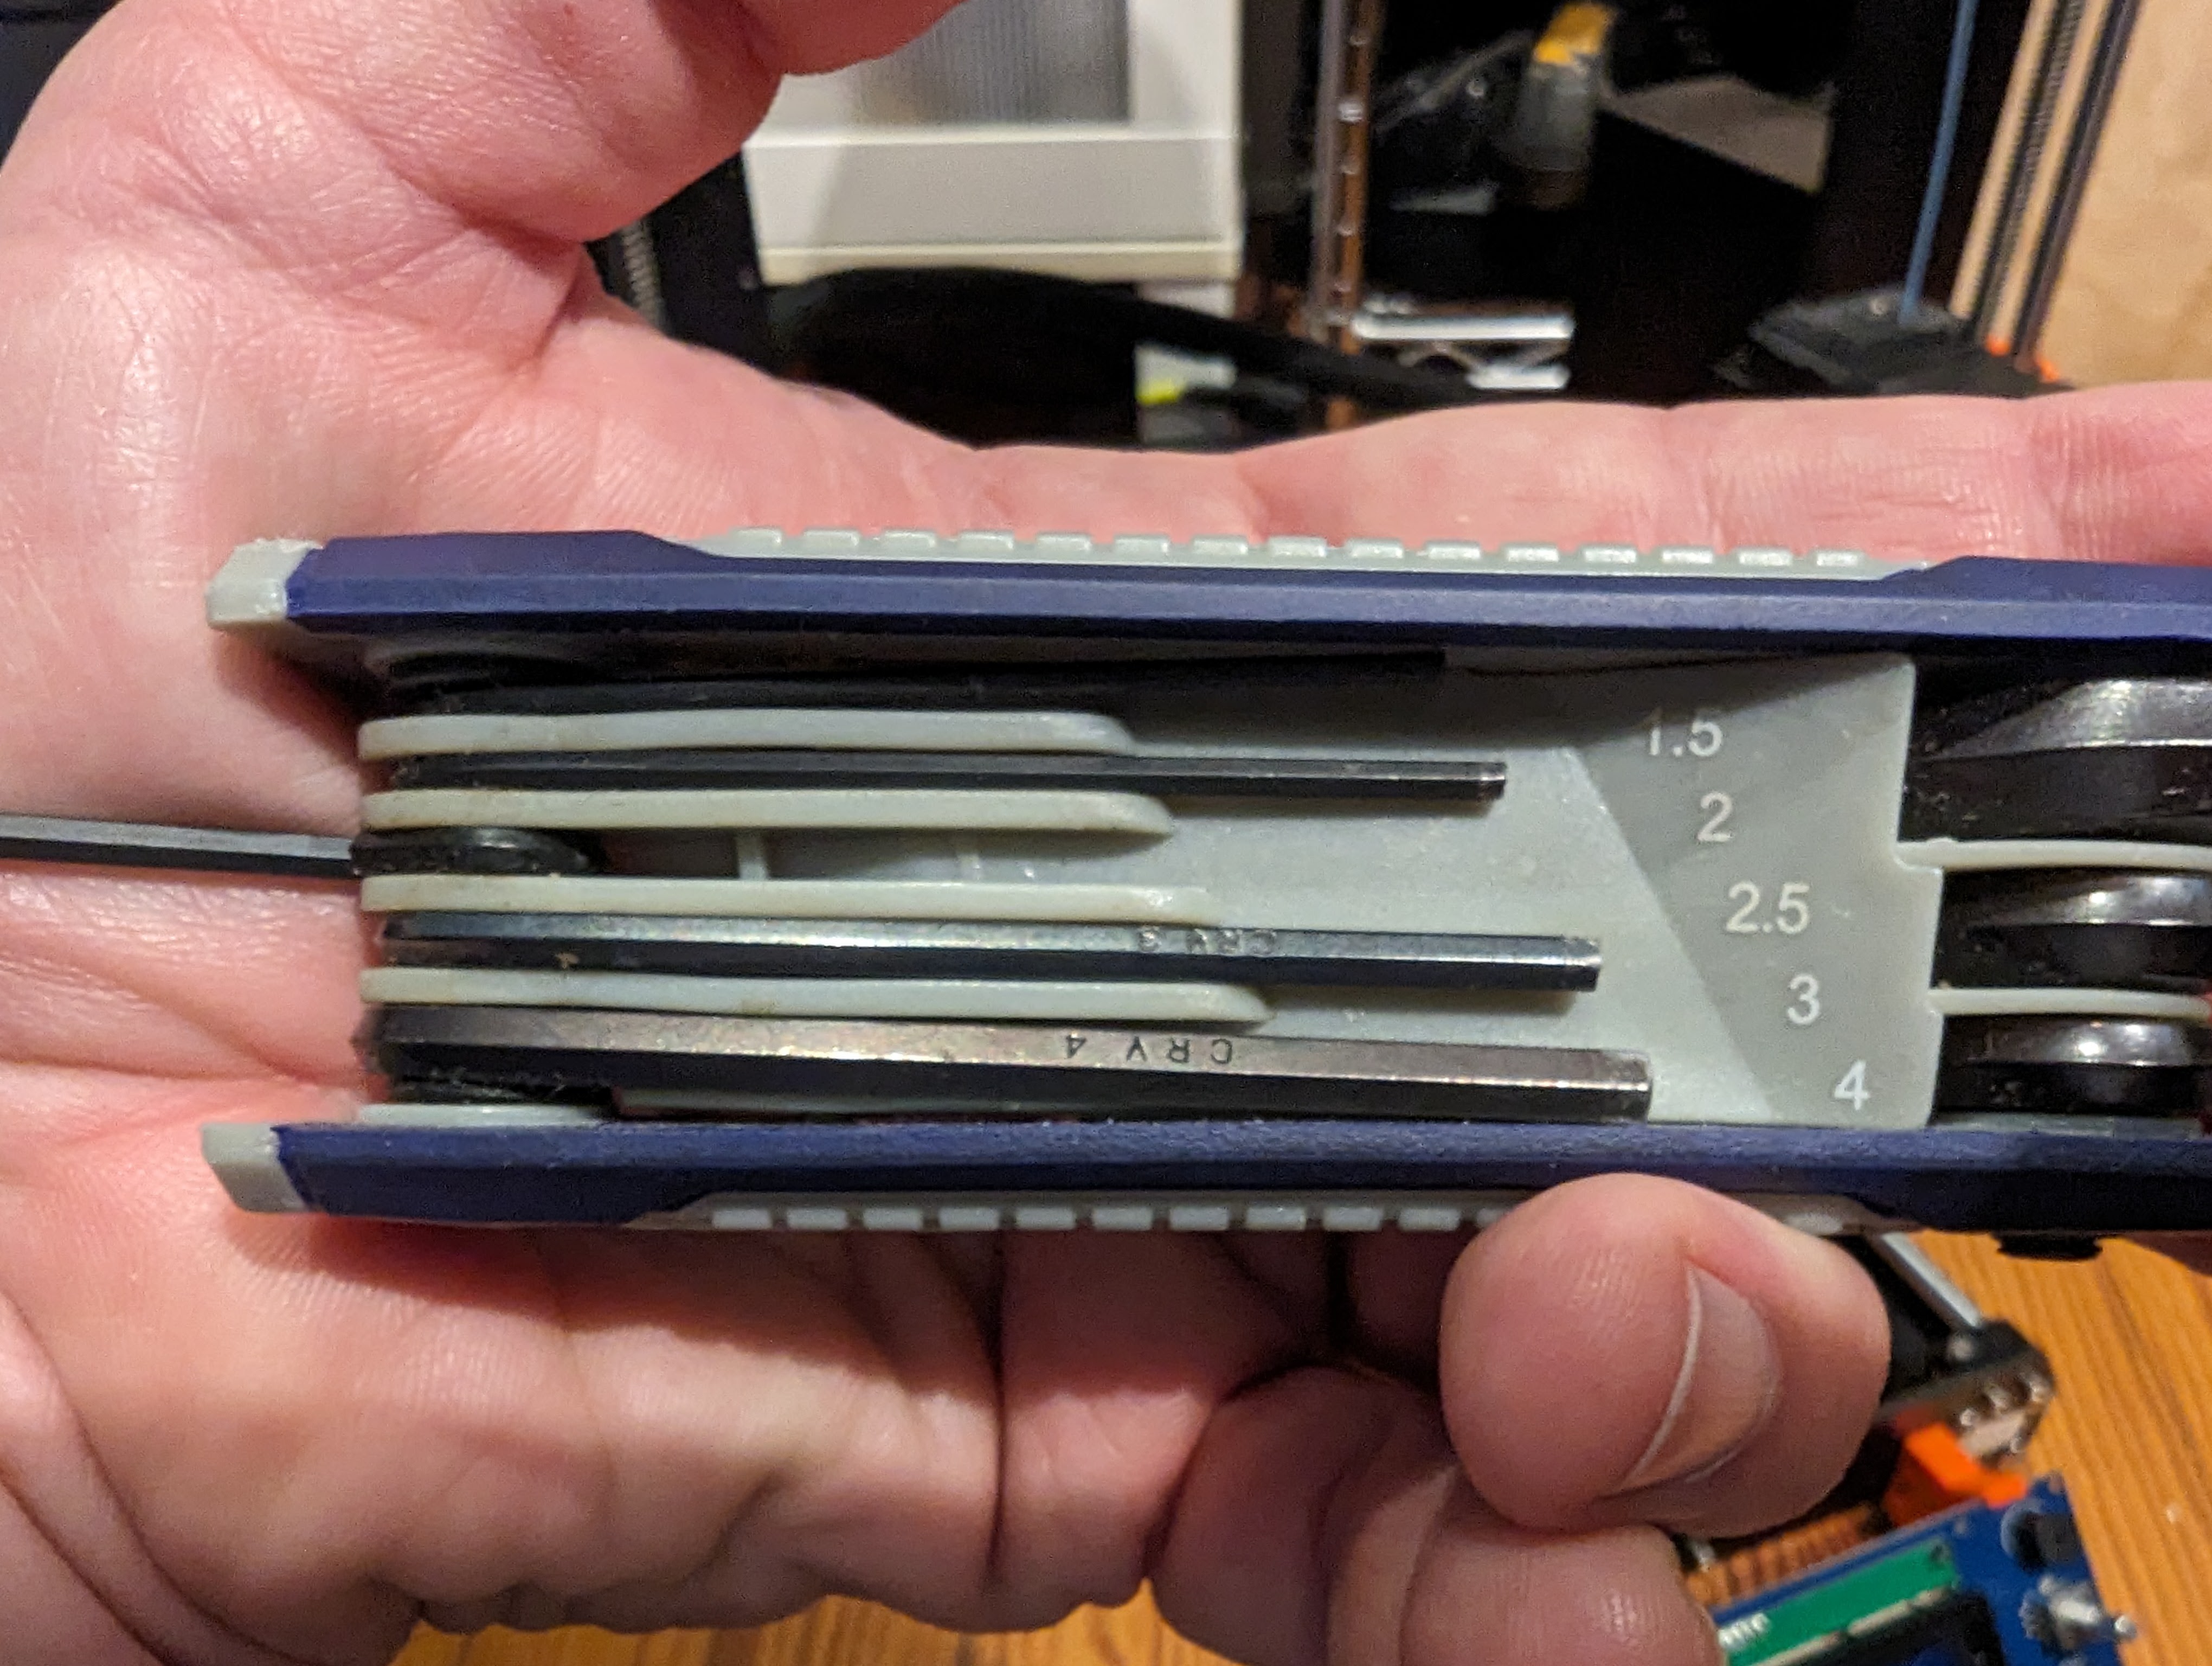
The only tool that you need is a 2.5mm hex wrench.
Unplug printer and lay sideways on a flat surface.
When you turn or move your printer, the surface will likely slide to one side. When this happens, the step motors actually create an electrical pulse and light the screen up. This is expected, but you should try to let this happen slowly so that a large current isn’t sent to the the circuitry of the printer.
Step 2 - Remove screws and plate

Remove menu knob from front panel by gently pulling knob away from panel.
Unscrew the two M3 screws on the back bottom of the display using the 2.5mm hex wrench.
Once removed, gently pry the front panel by lifting from the bottom and towards the top of the printer.
Step 3 - Remove wires and board
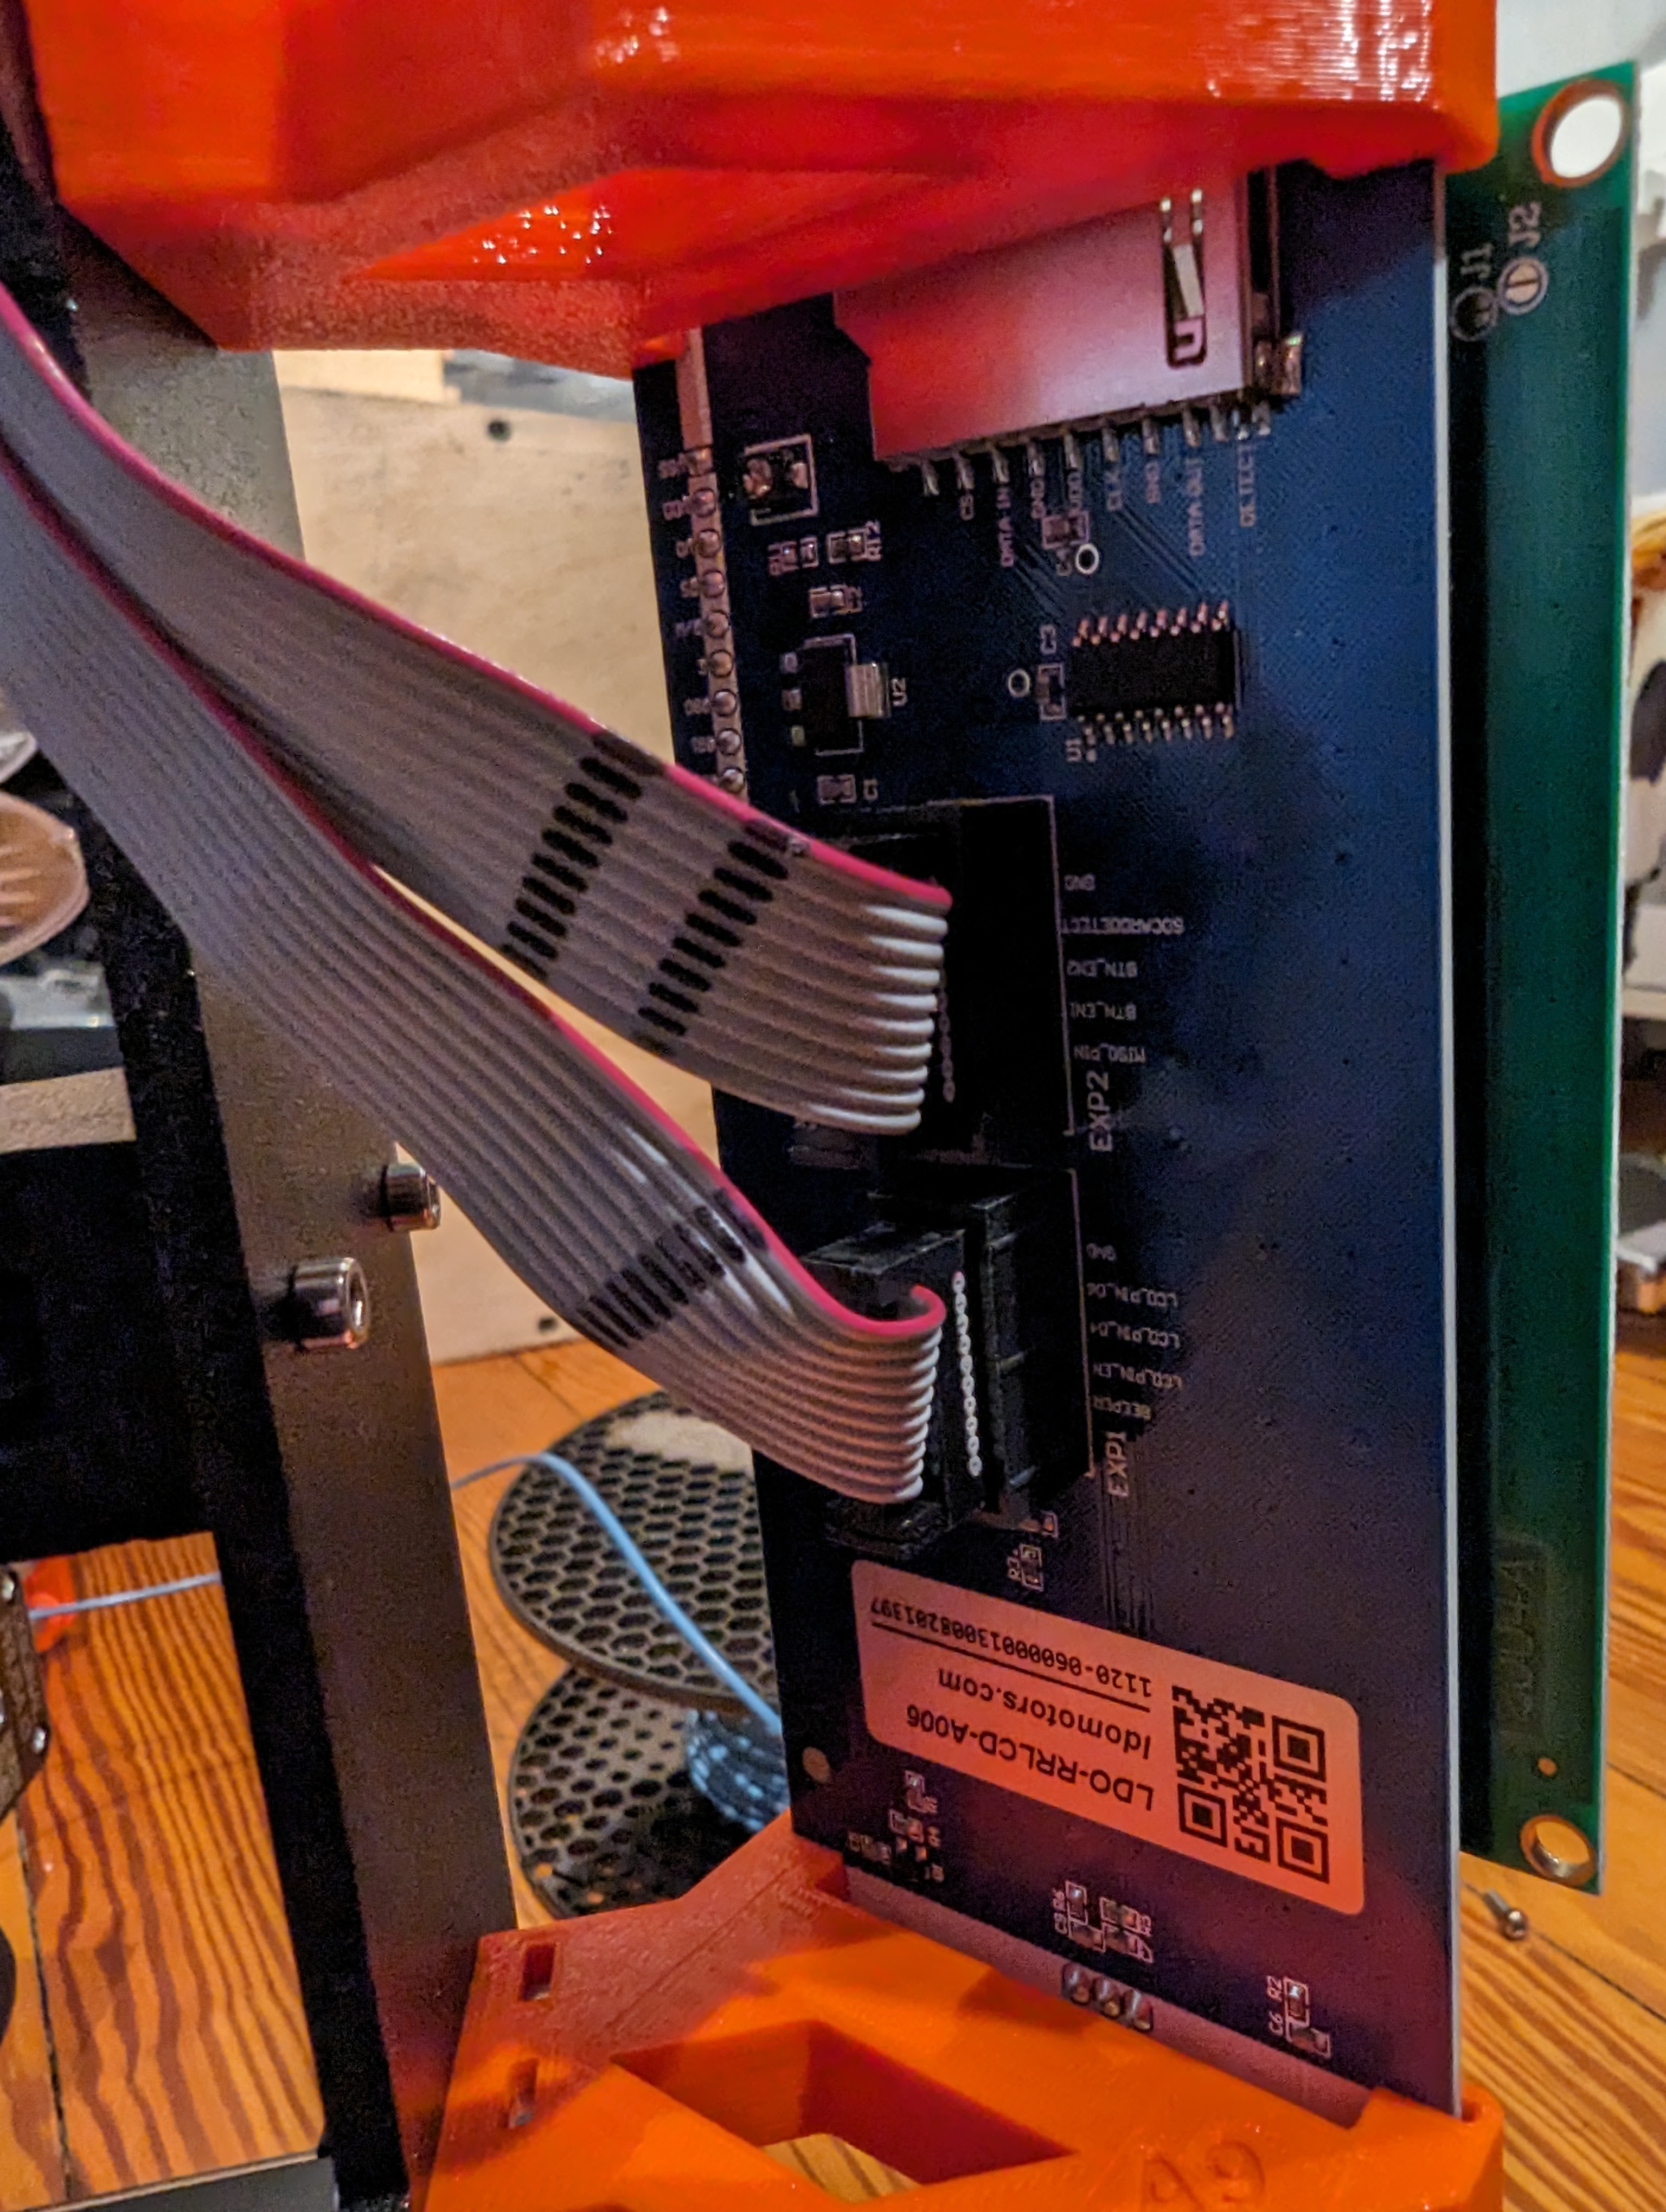
Make note of the position of the wires, which one is the left and which is the right. Mine were marked with one and two lines during assembly, which helped to keep track.
Unplug wires from board. Slide board through printed clamps towards the side with the control until the opposite side falls out of the clamp. Then slide back in the other direction until the control side comes out of the panel.
Seriously, that was the hardest part.
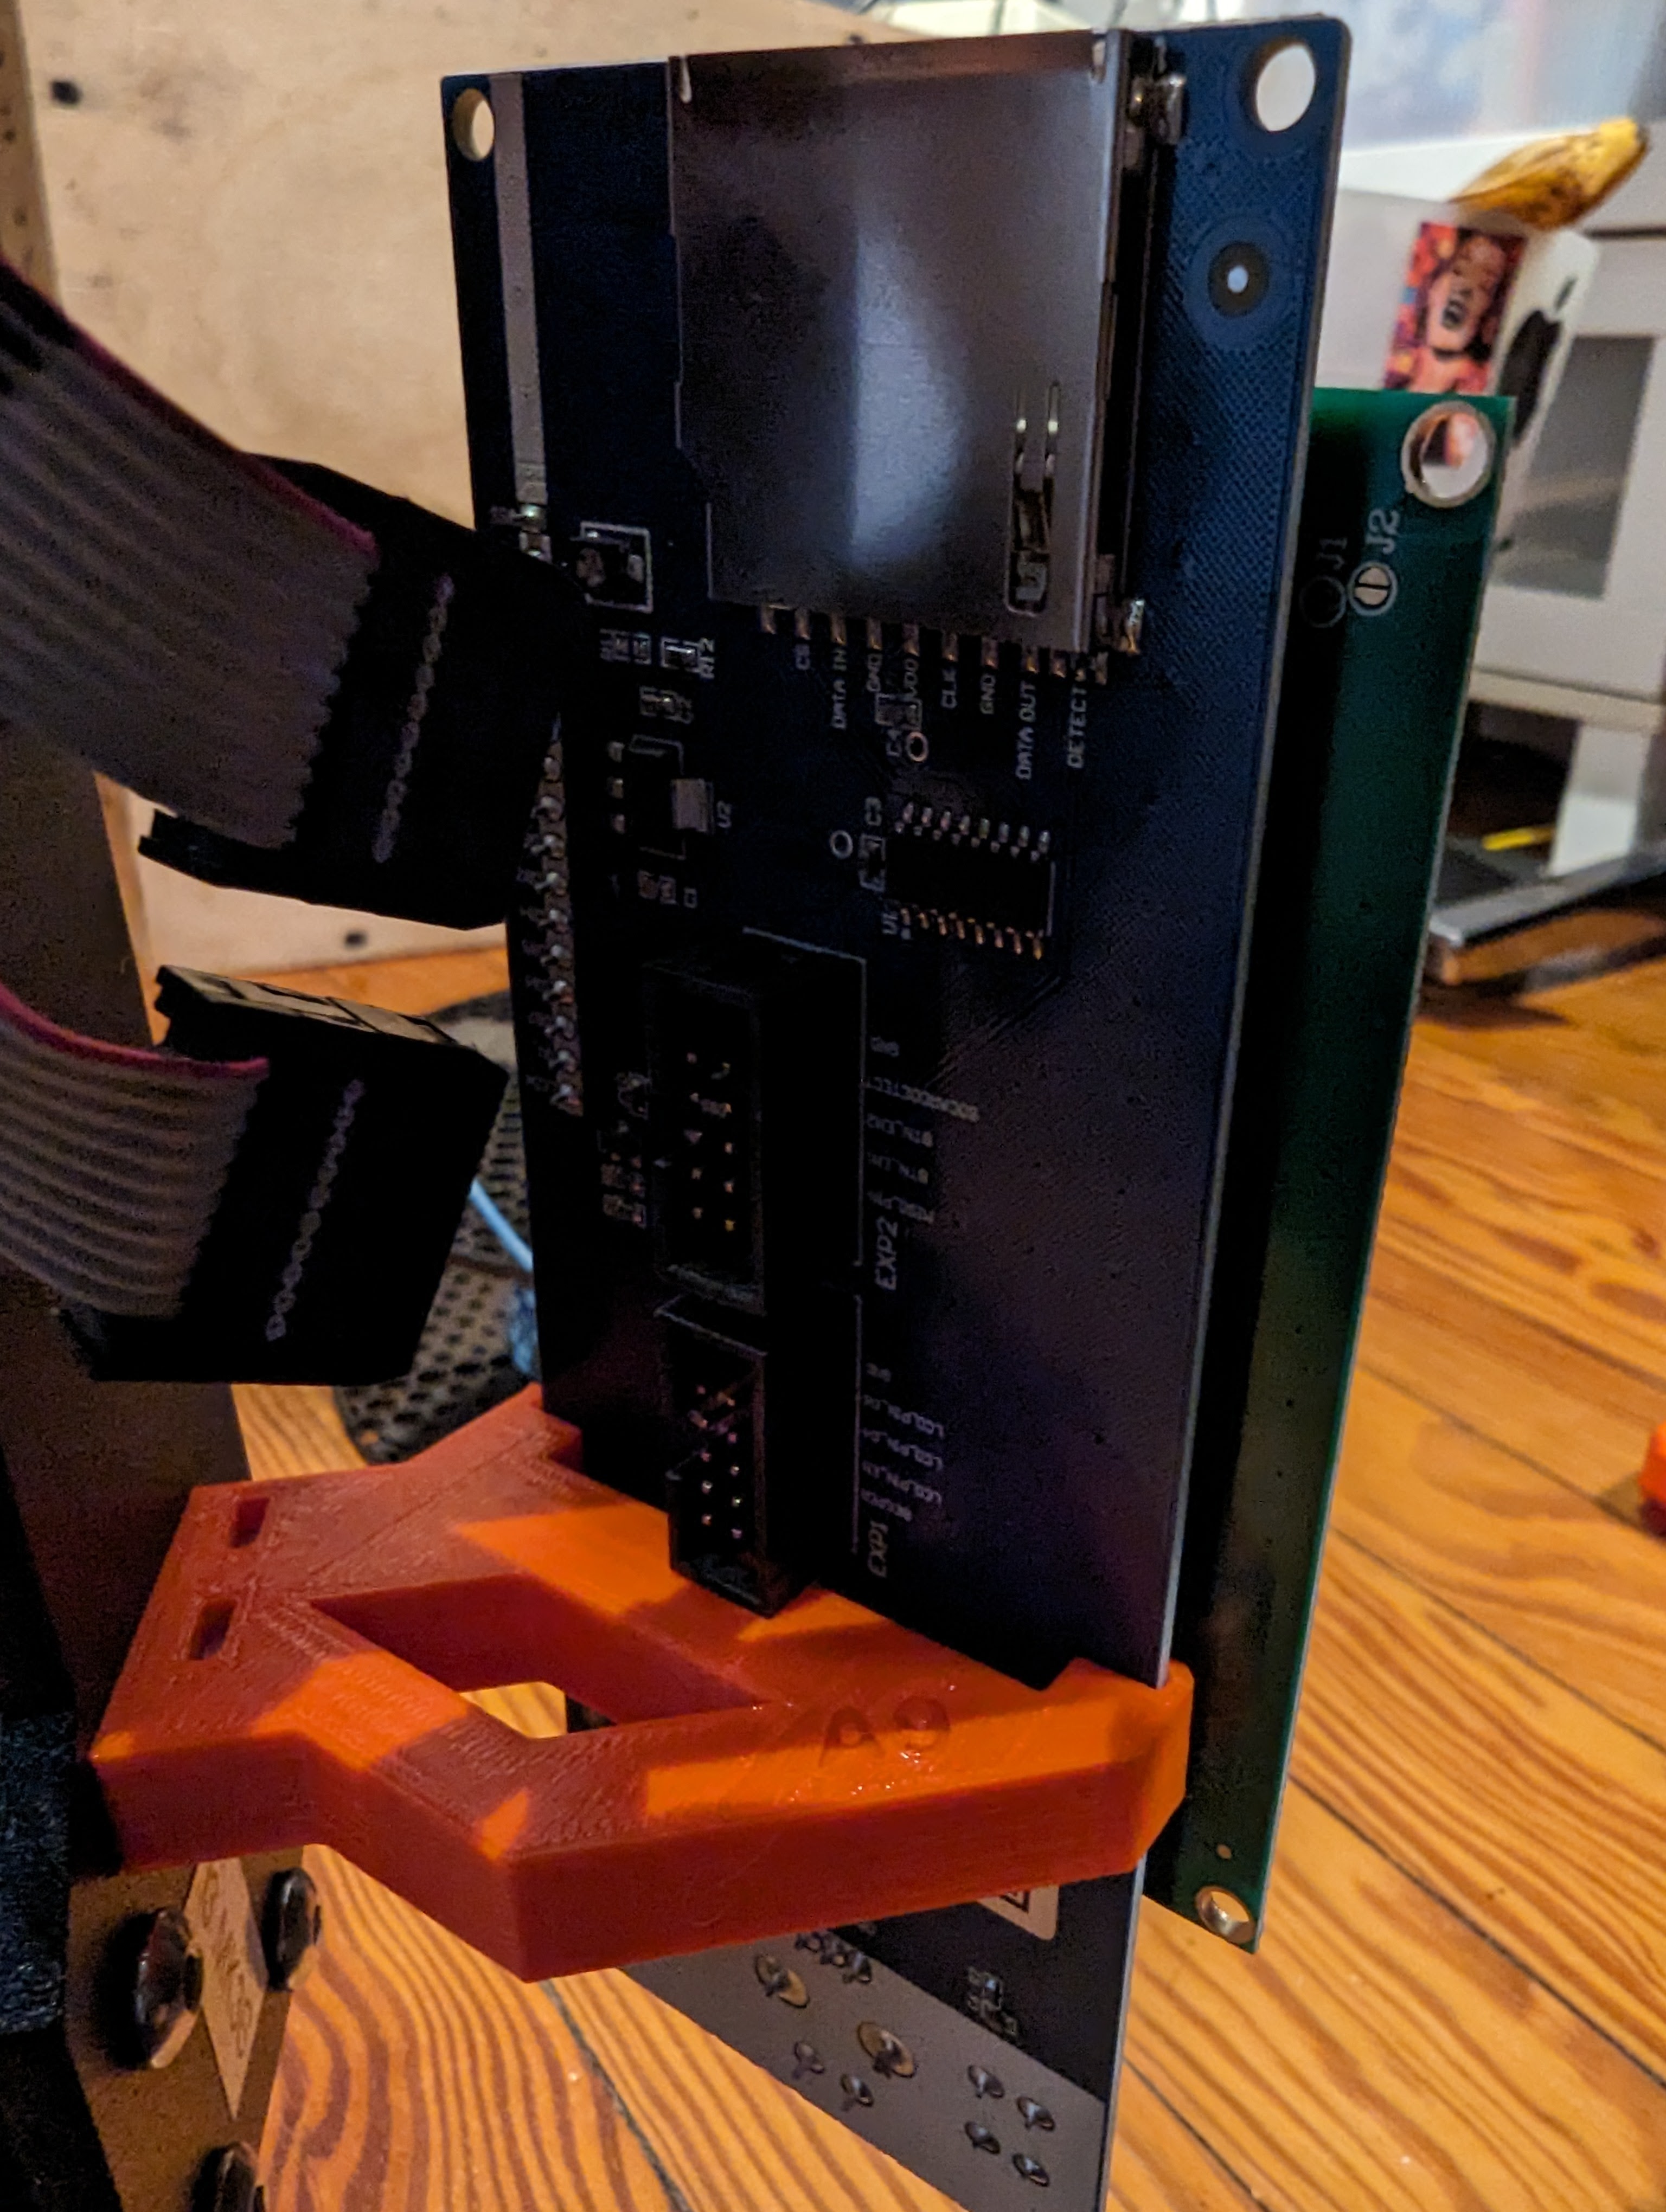
Step 4 - Put new board in
Take your new board, and slide it through the printed claps with the controller side first, until the other side of the board clears the “left side” clamps, then slide board back, fitting the opposite side in the clamps.
Step 5 - Plug and screw
Take off the plastic protecting the LCD screen, if you haven’t already.
Place plate back on the front until it clicks at the top.
Screw the two M3 screws back in.
Plug wires back in the same corresponding position that you removed them.
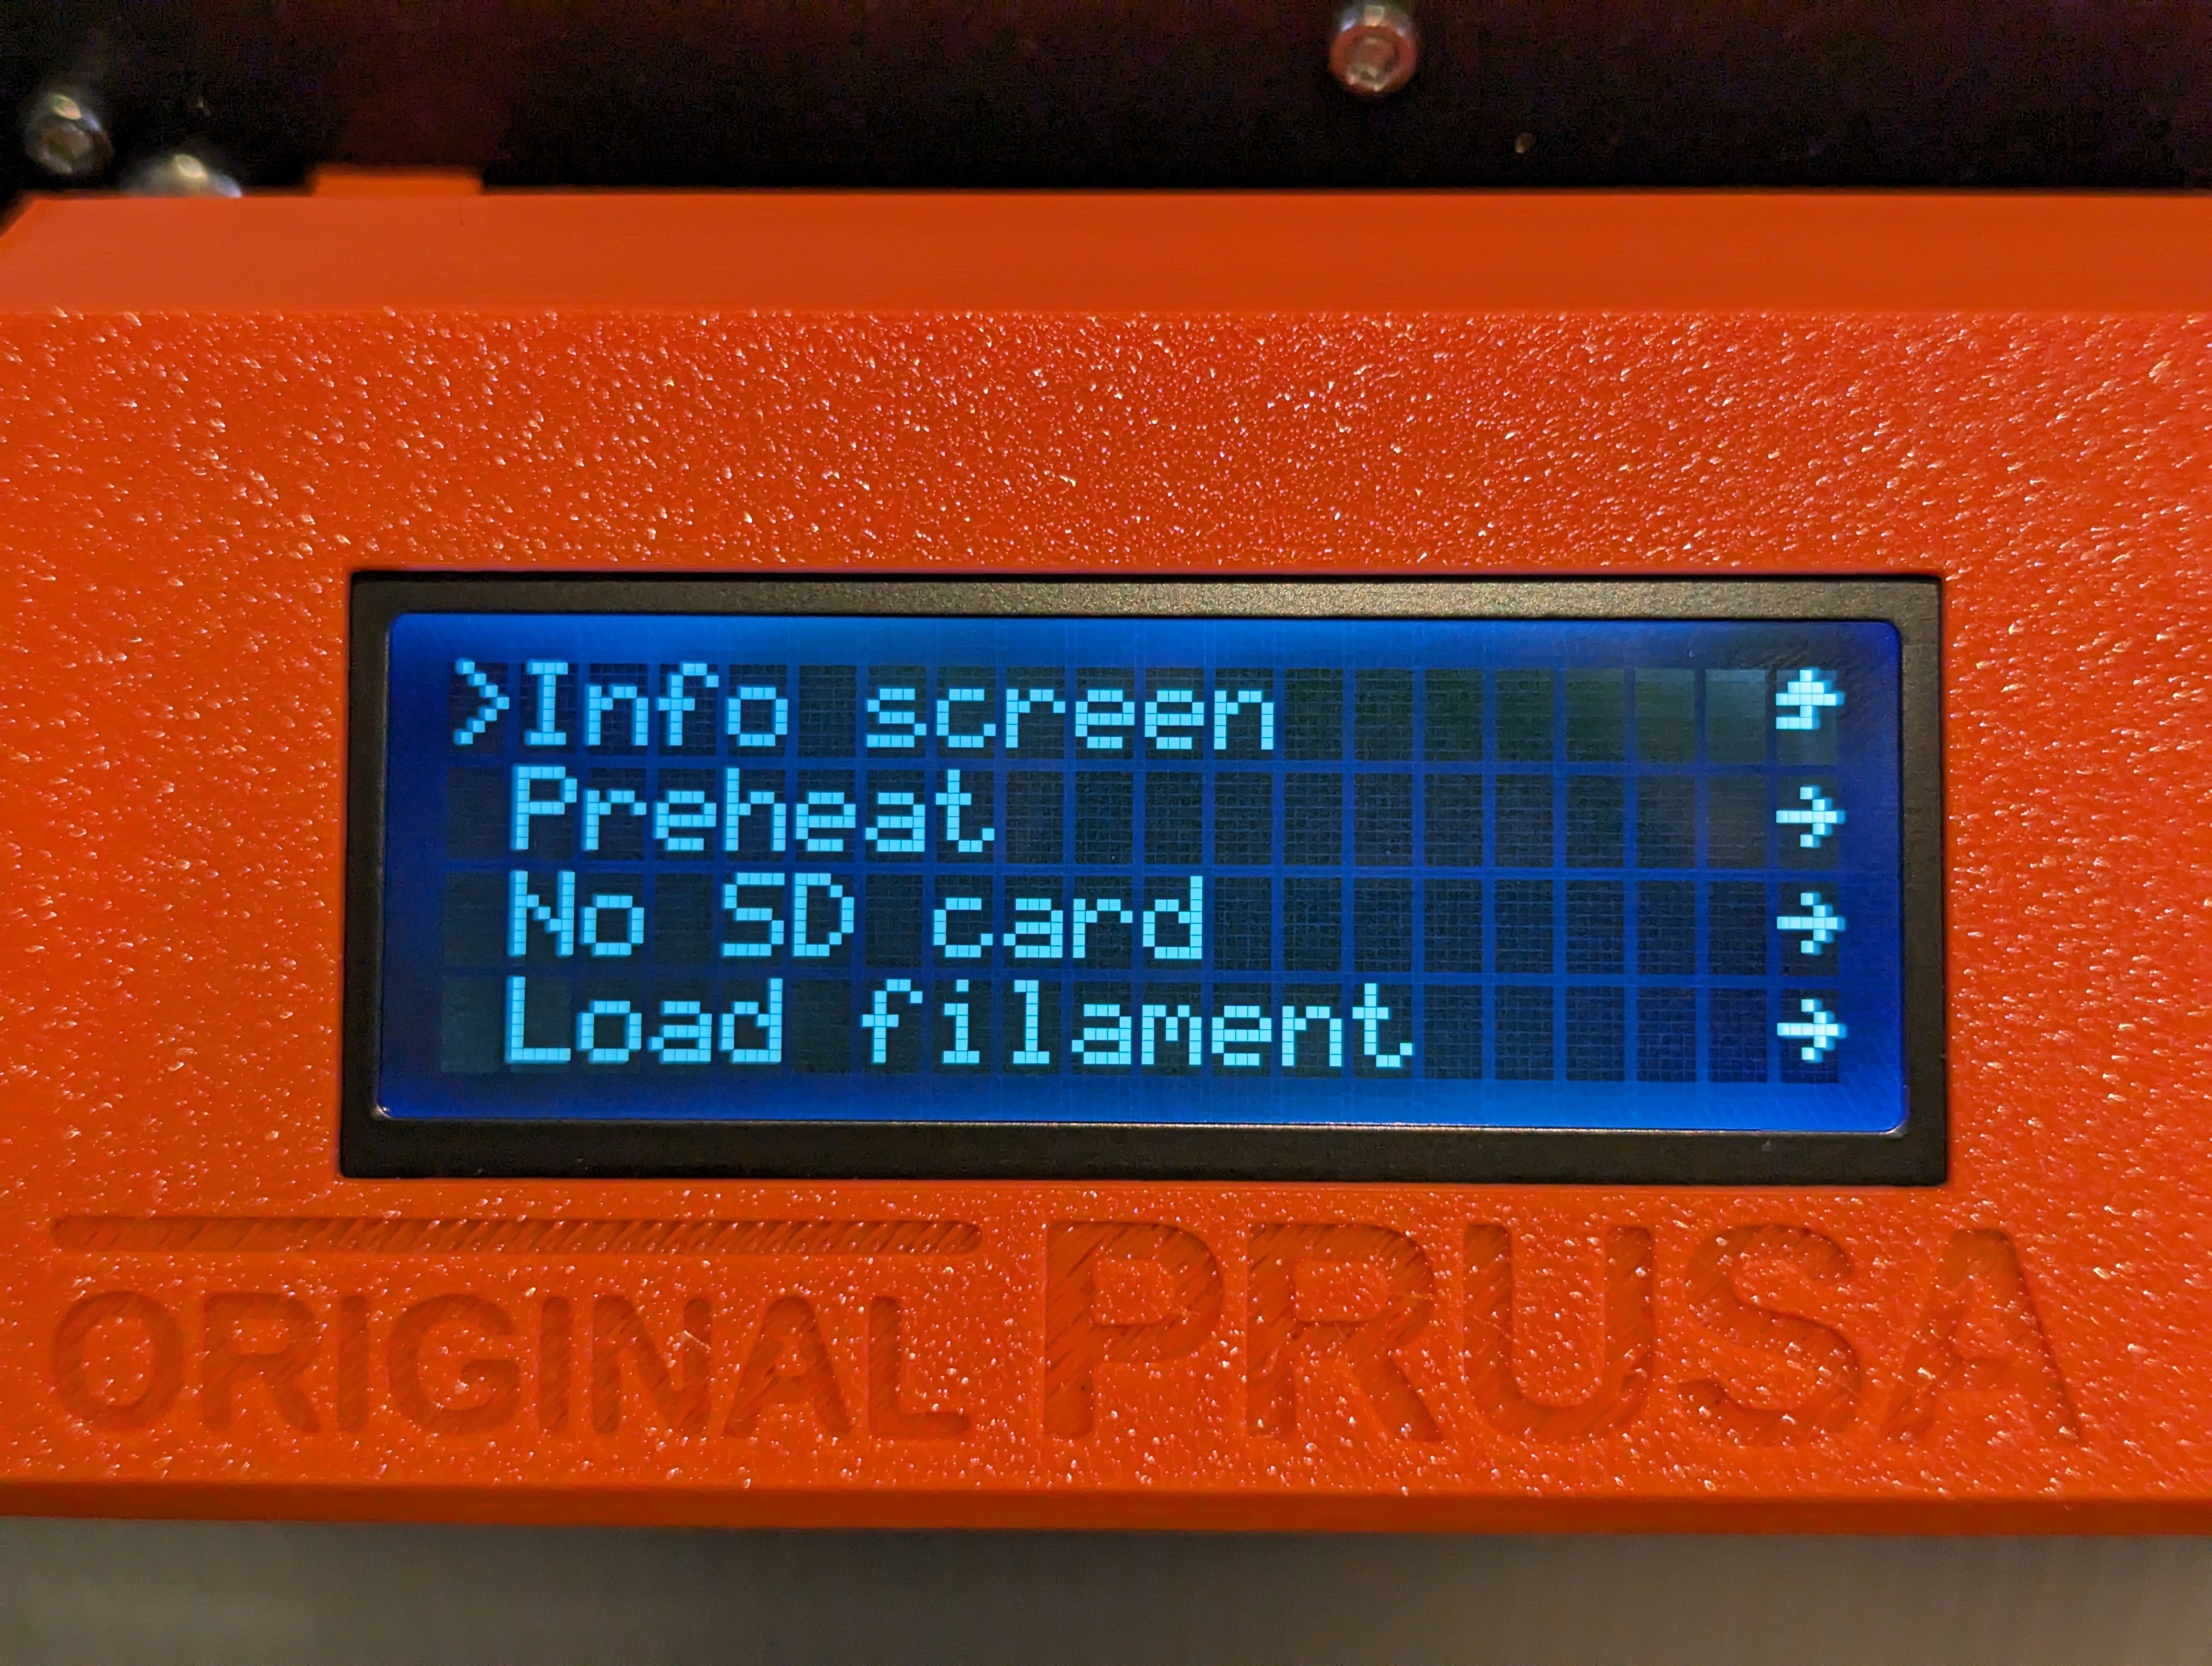
Put printer back into place. Turn on!!
Step 6 - Optional - Recalibrate
Prusa always advises that whenever you move your printer, you should run the calibration again.